How to transfer your data from Buildertrend to Billdr PRO?
Written By Francois Jullien
Last updated 11 months ago

STEP 1 - Transferring your Buildertrend leads and jobs into Billdr PRO Projects
Open Billdr PRO in one tab and Buildertrend in another tab
In Billdr PRO, click Add a new project, select Add customer yourself and Confirm
Copy and paste the project name, address and the client’s contact information into the appropriate fields
This manual process needs to be repeated for each lead you wish to import. No email or notification will be sent to your customers at this step.
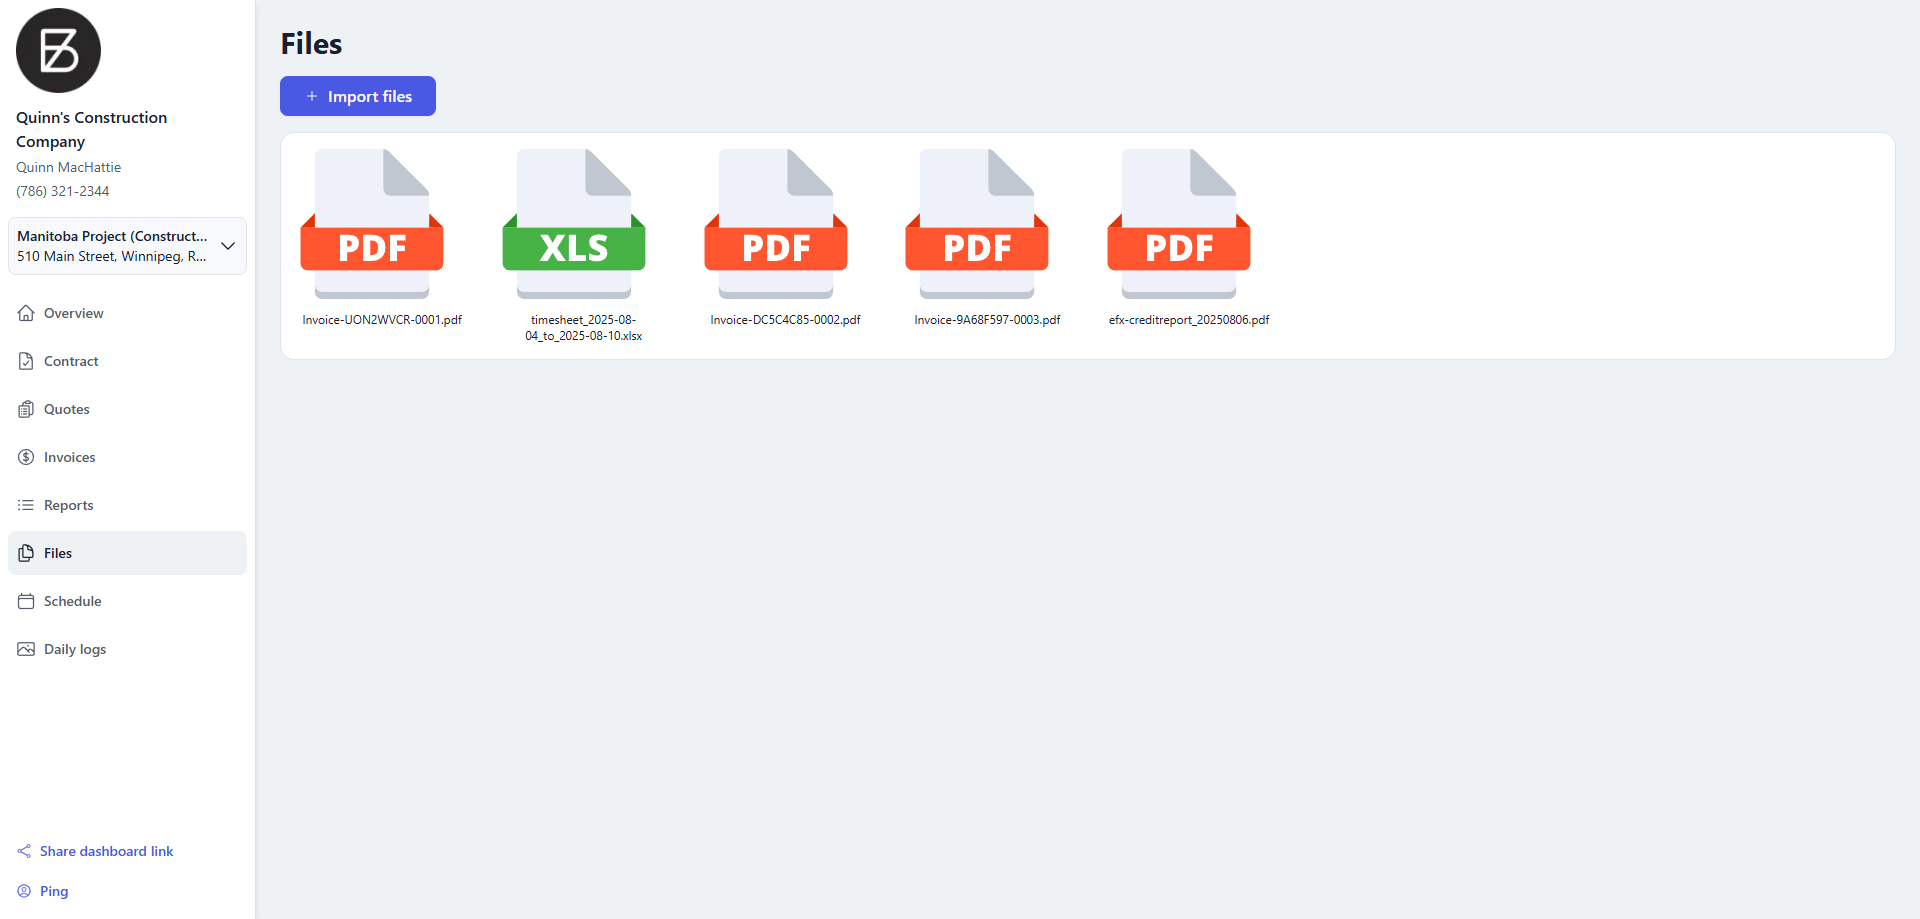
STEP 2 - Transferring your Buildertrend files
Transfer your files
Download available documents (quotes, change orders, invoices).
Open Billdr PRO in a new tab.
Create or select the project you already created (see step 1 for instructions).
Open the "Files" tab and upload the documents.
Organize your documents using folders or subfolders as desired.
STEP 3 - Re-create your contract (fast method)
You can quickly re-create a contract (signed quote) by following these steps:
Create a new quote in your project on Billdr PRO.
Add the sub-total amount into a single category (you can of course, re-create all the quote details with all the tasks if you wish).
Exit the quote and sign the contract on behalf of your customer.
👉 No notification will be sent to your customer if you sign the contract yourself. It will only change the status.
STEP 4 - Match the existing invoice status and change orders
Open the "Invoice" tab.
Edit the amount per invoice.
Exit the draft and change the status of the invoice to "Sent" and/or "Paid."
Open the "Change Order" tab.
Create a new change order.
Exit the change order draft and change the status to "Sent," "Accepted," or "Declined."
👉 No notification will be sent to your client if you change the status of your invoices to “Submitted” but your client will get a message when an invoice is marked as paid. The message will say “Hi John Doe, The payment for the invoice #26763 has been successfully received.”
👉 No notification will be sent to your client if you change the status of change orders.
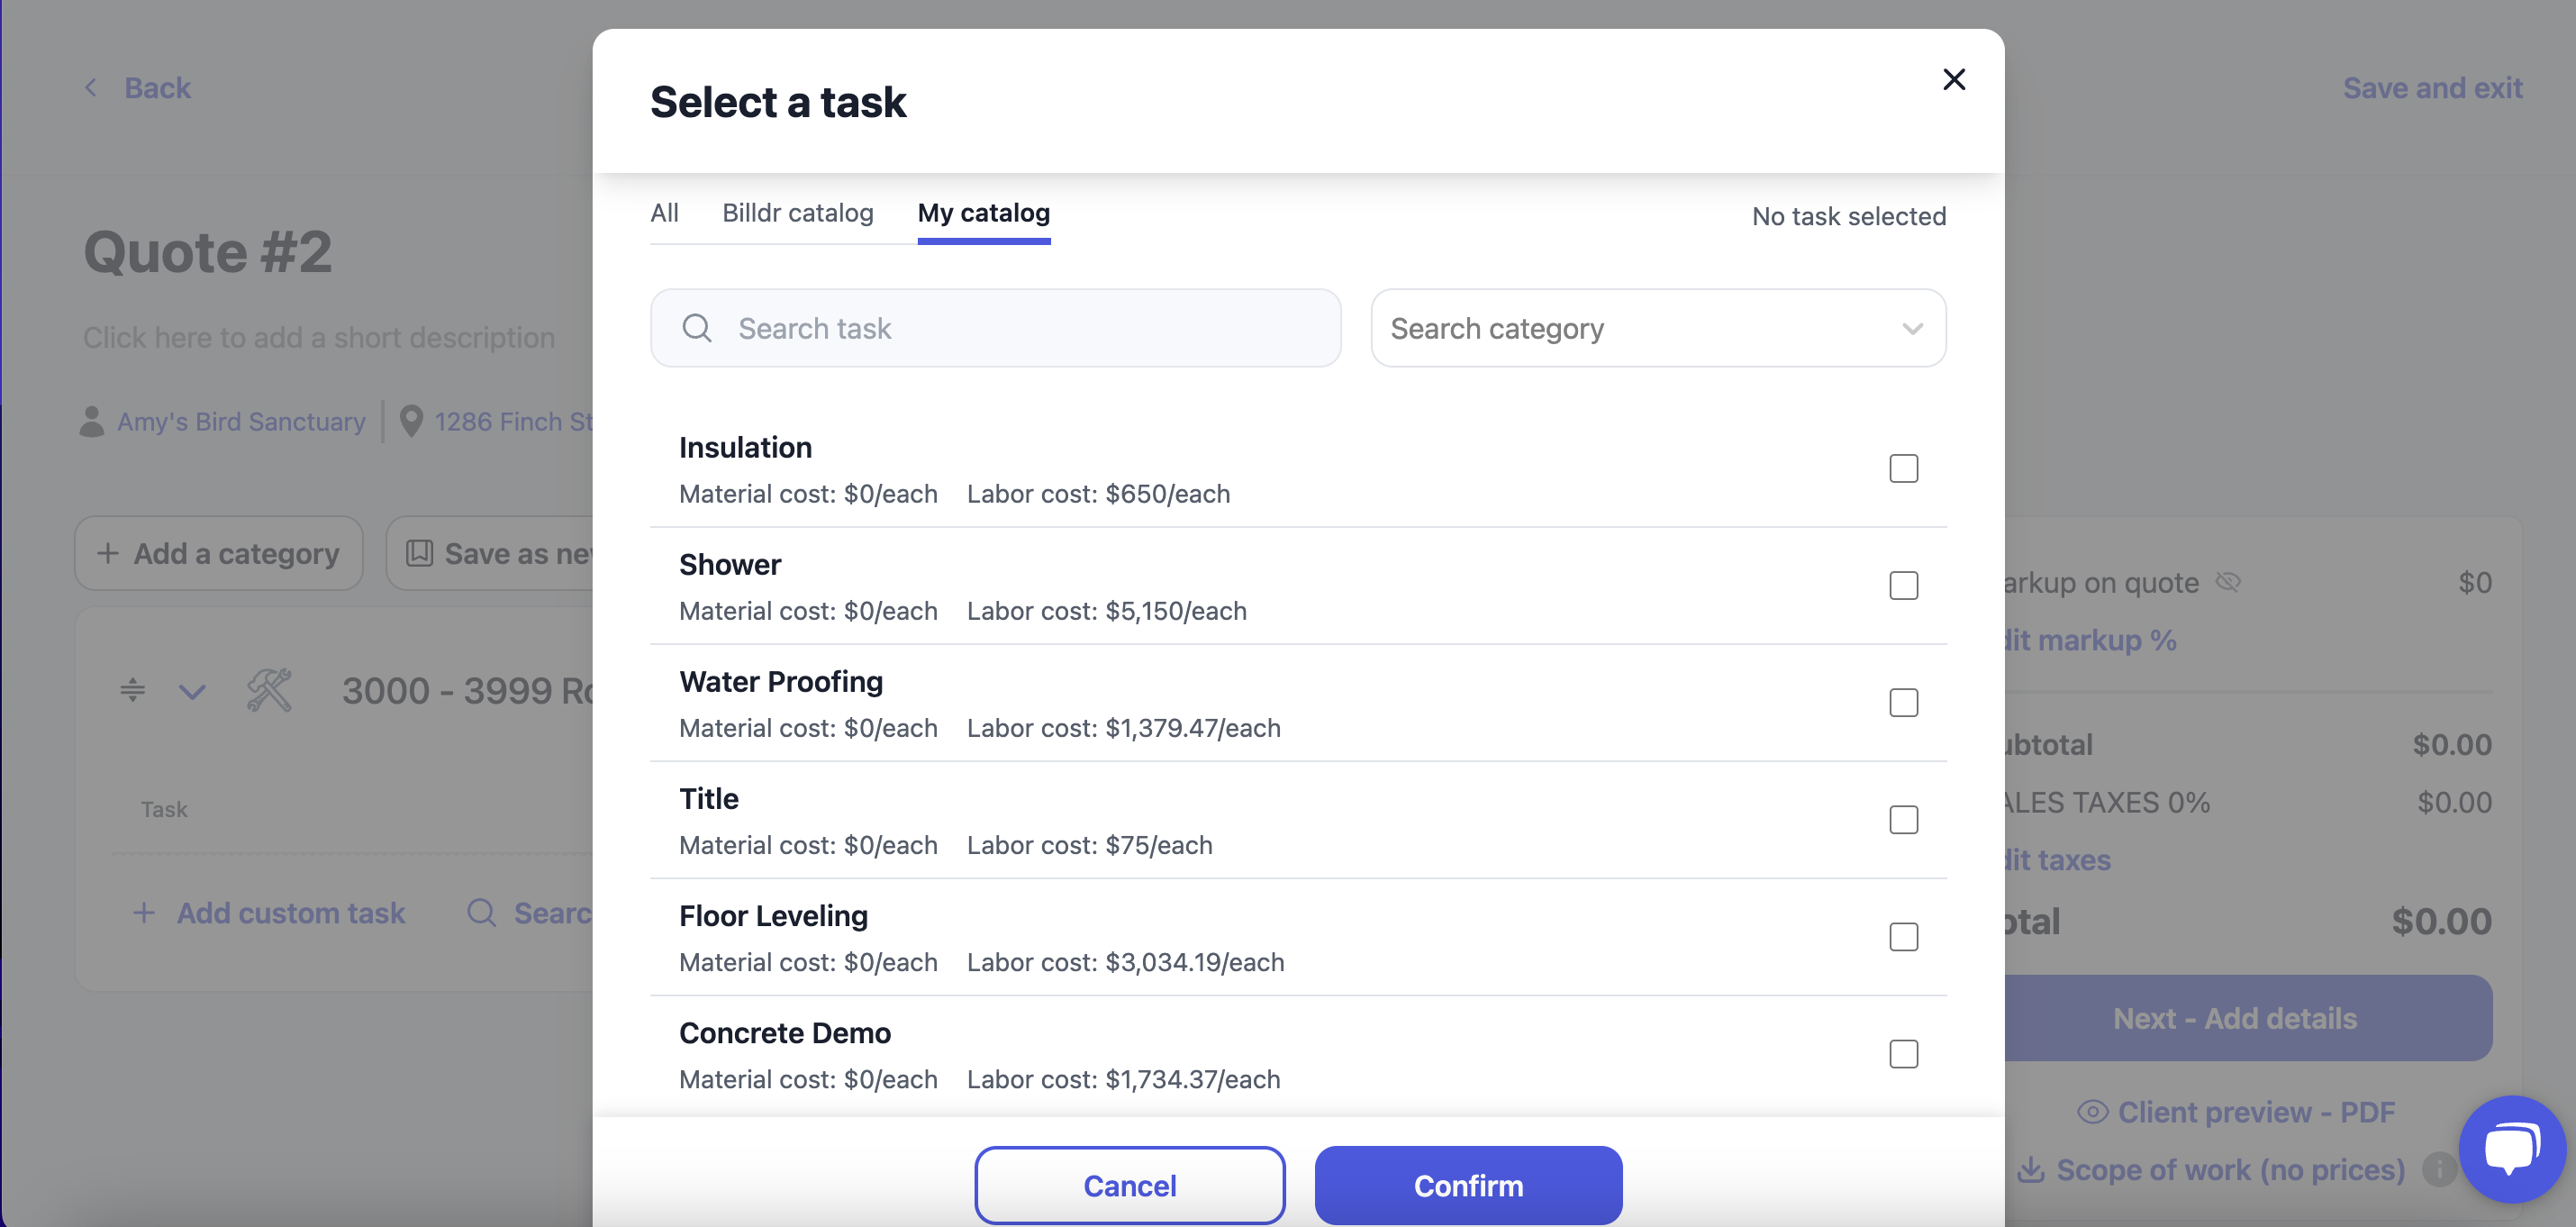
STEP 5 - Transferring your Buildertrend cost catalog
Download the Billdr PRO cost-catalog template.

Download your estimate from Buildertrend.
Copy and paste your categories into the "Categories" column on the Billdr PRO cost-catalog template.
Copy and paste your tasks into the "Task" column on the Billdr PRO cost-catalog template.
Copy and paste your prices (material or labor) on the Billdr PRO cost-catalog template.
Go to the "Export" tab and export the CSV.
Return to Billdr PRO and import your CSV.
You can now view all your tasks and prices when creating a quote.
Step 6 - Transferring your Buildertrend daily logs
In Buildertrend, enter a project
Download/Print your daily logs (All time)
in Billdr PRO, enter a matching project and create a new daily log
Upload the downloaded file
Rename the log to” Buildertrend logs from DATE to DATE”
Save and exit
Step 7 - Share the original with your client on their new dashboard
Open your project in Billdr Pro
Go to the Files tab and find the folder “Shared with client” at the bottom of the page
Any files stored here will be visible to your client on their new client dashboard